Solar Panel Installation: A Complete Guide for Beginners
Installing solar panels is a smart and eco-friendly way to power your home while reducing electricity costs. As more homeowners switch to solar energy, understanding the installation process becomes essential. Whether you’re considering a DIY solar setup or hiring a professional, this guide will help you learn everything about solar panel installation in a simple and engaging way.
Why Install Solar Panels?
Before jumping into installation, let’s look at why solar energy is a great choice:
- Lower Energy Bills: Generating your own electricity reduces your dependency on the grid.
- Eco-Friendly: Solar energy is renewable and reduces your carbon footprint.
- Energy Independence: No more worrying about power outages or rising electricity costs.
- Increases Home Value: Homes with solar panels are more attractive to buyers.
- Government Incentives: Many regions offer tax credits and rebates for solar installation.
With these benefits in mind, let’s dive into the solar installation process.
Step-by-Step Solar Panel Installation
1. Assess Your Energy Needs
Before installing solar panels, determine how much electricity your home uses. Check your electricity bills to see your average monthly energy consumption. This helps you choose the right solar system size.
2. Choose the Right Solar Panels
There are different types of solar panels, each with unique benefits:
- Monocrystalline Panels: High efficiency and long-lasting.
- Polycrystalline Panels: Affordable but slightly less efficient.
- Thin-Film Panels: Lightweight and flexible, ideal for smaller setups.
3. Find the Best Location
To get the most sunlight, solar panels should be installed in a spot with minimal shade. The ideal location is usually your roof, but ground-mounted panels are also an option if you have extra space.
4. Install the Mounting System
The mounting system secures your solar panels in place. There are different mounting options:
- Fixed Mounts: Panels remain in a fixed position.
- Adjustable Mounts: Allows angling panels for better sunlight exposure.
- Tracking Mounts: Moves panels to follow the sun’s position.
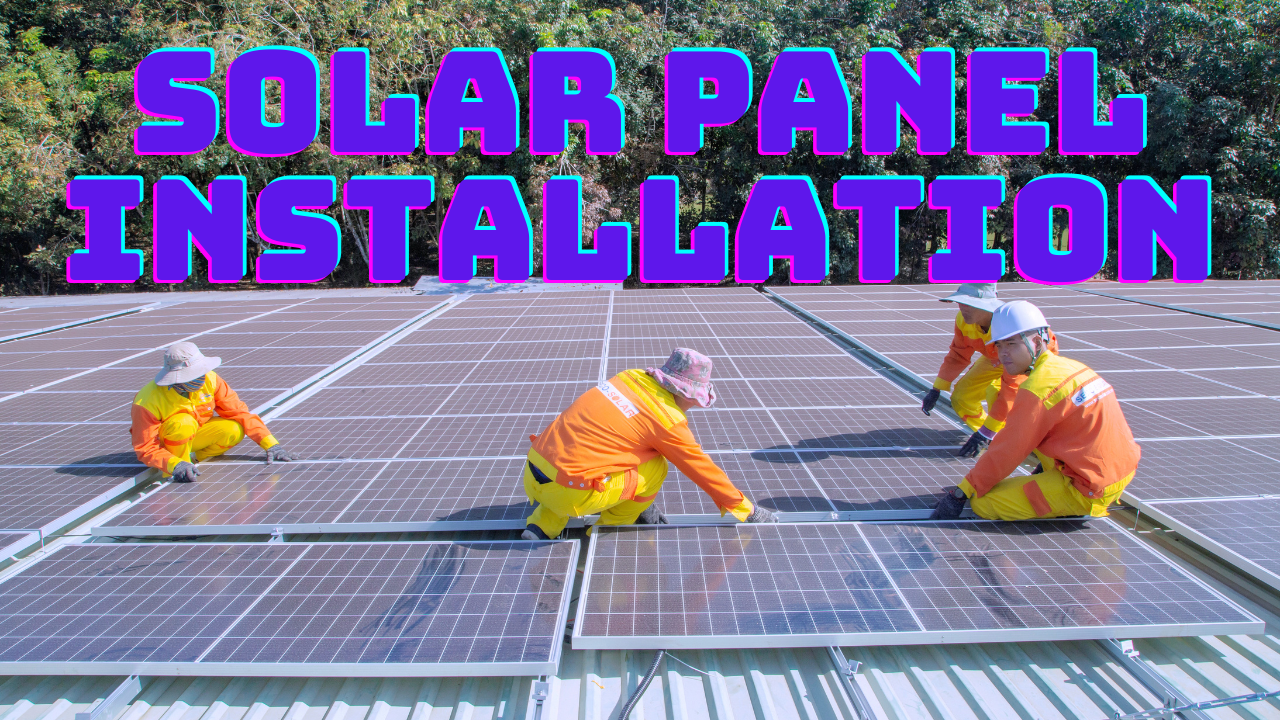
5. Place and Secure the Panels
Once the mounting system is in place, attach the solar panels securely. Ensure they are firmly fastened to withstand strong winds and harsh weather.
6. Wire the Solar Panels
Connecting the panels correctly is crucial. Solar panels produce direct current (DC), which needs to be converted to alternating current (AC) using an inverter. The wiring process includes:
- Connecting panels in series or parallel.
- Wiring them to a charge controller if using batteries.
- Linking the system to an inverter for AC conversion.
7. Connect to the Power Grid or Battery System
There are two main ways to use the solar energy you generate:
- Grid-Tied System: Your home stays connected to the power grid, and excess energy can be sent back for credits (net metering).
- Off-Grid System: Your system stores energy in batteries, making you independent from the grid.
8. Final Inspection and Testing
After installation, check that everything is working properly. Run a test to ensure:
- Panels are generating electricity efficiently.
- The inverter is converting DC to AC correctly.
- The battery system (if used) is charging and discharging properly.
- All connections are secure and safe.
Should You Install Solar Panels Yourself or Hire a Professional?
Many people wonder whether to install solar panels themselves or hire a professional. Here’s a quick comparison:
DIY Solar Installation
✅ Saves money on labor costs ✅ Gives you full control over the process ❌ Requires electrical and technical knowledge ❌ Can be risky if done incorrectly
Professional Installation
✅ Ensures safety and efficiency ✅ Includes warranties and maintenance services ✅ Faster installation time ❌ Higher upfront cost
If you’re experienced with electrical work, DIY solar installation can be a great way to save money. However, for most homeowners, hiring a professional is the safest and most efficient choice.
Cost of Solar Panel Installation
The cost of installing solar panels depends on several factors:
- System Size: Larger systems cost more but generate more power.
- Panel Type: Monocrystalline panels are more expensive but more efficient.
- Installation Fees: Hiring a professional increases costs.
- Battery Storage: Off-grid systems require batteries, which add to the price.
On average, installing a solar panel system can cost between $10,000 – $30,000, depending on system size and components. However, government incentives and rebates can significantly reduce costs.
Maintaining Your Solar Panels
Once your solar panels are installed, proper maintenance ensures they continue working efficiently. Here are some tips:
- Clean panels regularly: Remove dust, leaves, and debris.
- Check for shade: Ensure no new trees or structures block sunlight.
- Inspect wiring and connections: Look for any loose or damaged wires.
- Monitor energy production: Use a solar monitoring system to track performance.
With proper care, solar panels can last 25+ years, making them a smart long-term investment.
Final Thoughts
Solar panel installation is a great way to reduce energy bills, increase home value, and contribute to a cleaner planet. Whether you choose a DIY setup or professional installation, switching to solar energy is a smart investment for the future.
If you’re considering solar, now is the best time to go green! With improving technology, falling costs, and government incentives, solar power is more accessible than ever. Are you ready to harness the power of the sun?